Sorry I’ve been a bit quiet lately. I haven’t been well since I got back from the concert, so, although I’ve been able to do a little bit of work on the waistcoat, it hasn’t been as much as I would have liked. Fortunately I am now on the mend and have a long-term diagnosis, so now I know why I keep getting these respiratory infections that floor me flat for ages. Hopefully that means the next one shouldn’t, because the underlying problem can be addressed. I believe it also qualifies me for a ‘flu vaccination, and that’s probably not a bad thing.
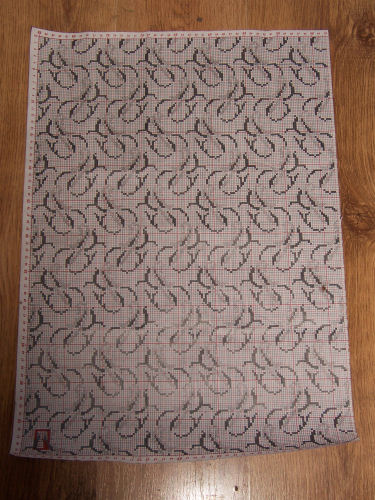
Anyway, you remember what the pattern looked like last time you saw it? This is what it looked like when I’d finished all the pencilling. Due to my complete lack of artistic talent, it’s basically a pixellated grid.
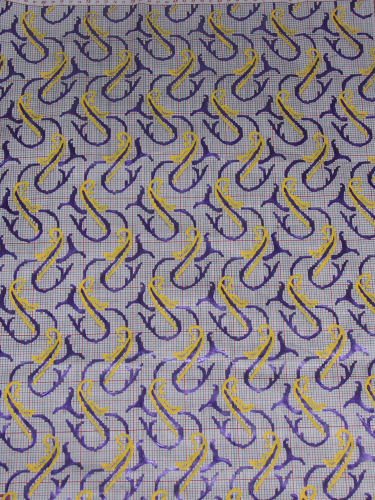
The next job was to colour it in with acrylic paint, smoothing (and in some cases joining up) the curves in the process. This is the result:
Here’s a close-up
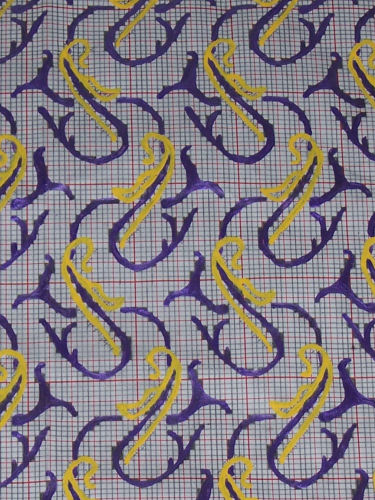
When colouring the pattern, I tried to get a balance between the two separate inspirations. The Victorian waistcoat pattern on which this is based is paisley, and I wanted to keep some elements of that, so I have emphasised the hook at the top of the original paisley motif (which you can see clearly at the top of each of the gold parts). I’ll also be filling in the curve at the bottom of the original motif in a consistent way throughout the design – haven’t decided exactly how yet, but I have plenty of time to do that, as I need to lay down this basic ground before I add anything else to it. 17th-century embroidery is typically more flowing, with a lot of disparate motifs unified by a vine-like base, and that’s why I’ve got the purple lines connecting the motifs and running through them. This is obviously just a base for the rest of the embroidery, but I am really happy with the way it turned out.
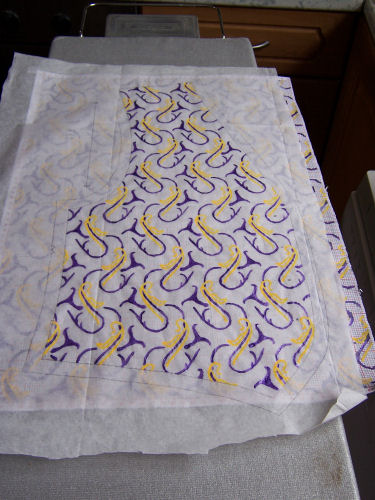
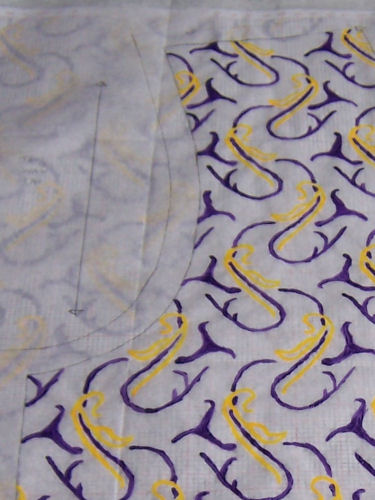
Now the exciting bit can start! First of all I taped a sheet of tissue paper to the front pattern block and traced it. This was the right front, so I marked where the buttons are going to go. Then I untaped it, laid it over the pattern sheet, matched up the grainline to the direction of the grid, and shuffled it about until I got all four of the button spots on unembroidered fabric, so I don’t have to re-jig the embroidery for the sake of the buttons. (I will for the buttonholes – that’s unavoidable – but at least not having to do it for the buttons is something.) I taped it in place and traced the embroidery pattern, and this is what I’ve ended up with:
Somewhat unconventionally, the grainline is not on the pattern piece itself. I put it in the armscye, like this:
This will make it a lot easier to line up the piece with the grain of the fabric. I’m thinking of stitching in a contrasting thread to mark the grain, just to ensure it’s absolutely spot on.
This pattern piece isn’t quite finished, because I’m going to go over the pencil lines in ink to make them easier to see (and transfer). Then, of course, I have to make the left-hand piece, which will either be a mirror image of this one or match at the centre front so that the pattern continues smoothly across the garment. I haven’t yet decided which.

Posted by Livi on 30/05/2011 at 7:41 pm
It is totally amazing, truly beautiful and i can’t wait to see the finished project
Posted by baroquemongoose on 30/05/2011 at 7:45 pm
Thank you very much! 🙂